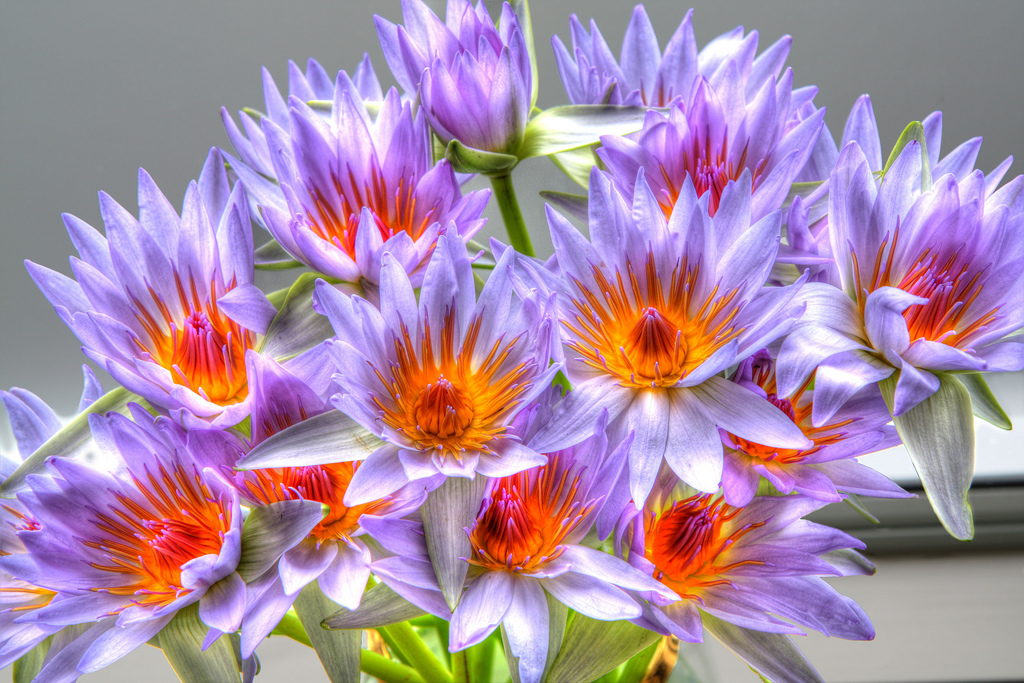
Waterlilies
The next lens that I had my eye on was the EF-S 17-55mm IS. This covers pretty much the same range as the 18-55mm kit lens. But it has a larger f/2.8 aperture. And by all accounts the optical quality is a lot better.
One of these came up on Trademe (our local version of eBay) at around half the retail price, so I grabbed it.
When it arrived I was surprised at how large it was; about twice the size and twice the weight. It was considerably better optically. Sharper, but also the chromatic aberrations that show up as red and blue fringes that towards the edge of the picture were much reduced.
At the time the weather we were having was not ideal for photography – it was raining all the time! So I was reduced to some indoor shots. This is one:
I bought the flowers from Wright’s Water Garden in Mauku. (There will be pictures from this place later). The colours of these lilies was lovely – electric blue outside with bright orange inside.
Like a lot of HDR shots, the background was badly haloed, something I’ve grown to dislike a lot. So I used Photoshop to paint the grey background back in. The basic method you use to do this is:
- Select the image with the best background and load into Photoshop.
- Also load the HDR image
- Copy and paste the HDR image onto a new layer of the good background image. You want the HDR image to be on top.
- Create a layer mask on the HDR image layer
OK so not when you use a paintbrush tool to paint “black” onto the HDR image layer mask, you see the background image. If you paint white (which is the initial colour) you see the HDR image. And if you paint gray you get a mixture of the two.
So select a suitable sized brush and paint black on the layer mask so you reveal the good background. I probably have not explained this very well. Leave a comment if you need any clarification.
Comments are closed.
